Cool Projects: Homemade tie-dye
Wood Sprite and I are lovin’ the tie-dye right now. She made some tie-dye shirts with Oak Scouts and now we are hooked! So when I ran across this post from Hello Giggles about creating homemade tie-dye from permanent markers, we had to try it.
All you need is:
-A T-shirt
-Sharpie markers (We used some off-brand permanent markers, too, and they worked fine)
-A cup
-A rubber band (optional, but it makes it so much easier!)
-Rubbing alcohol
-An eyedropper
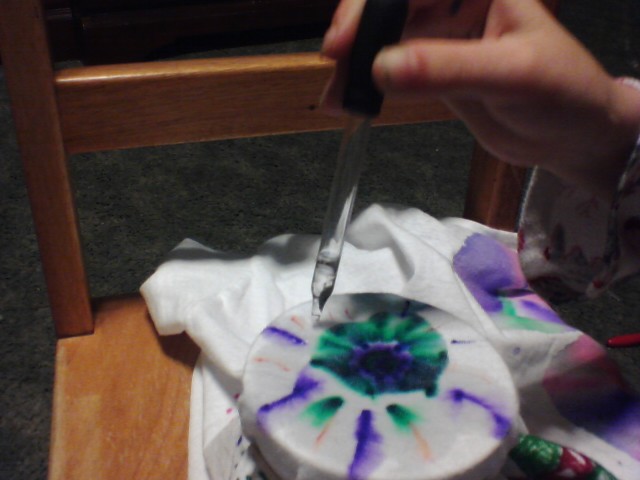
Stretch a small section of your shirt over the top of your cup and secure it with the rubber band, then draw small pictures and designs in the center of your spot. Drip about 10 drops of rubbing alcohol on top of it when you are finished to blur it up like tie-dye!
You can see our before and after photos here. My daughter loved her Teenage Mutant Ninja Turtle drawings and hated that one of them got “eaten” by the alcohol, so she decided to keep the rest of them intact. We went ahead and dribbled alcohol all over the ones I did, and I can attest to the fact that if you use too many drops your colors will blur way too much.
At Hello Giggles, there’s an important note to follow: pre-wash your shirt before you decorate it, then toss it in the dryer after decorating to set the colors in. Also, we tried to blur made-for-fabric markers and they did not do as well as the permanent markers.
I hope you enjoy this fun project! We really liked it and plan on making several more tie-dye pieces of clothing. In fact, we may have to do our whole wardrobes…

Photos courtesy of Wood Sprite and Sara S.

2 comments