I have a serious attraction to knit stripes. I mean, everyone likes stripes, but I really go crazy for them. Bad enough that I have been motivated to go to some truly heroic lengths to accomplish them. There are two factors when it comes to stripes: How to knit them, and how to de-jog them.
Garter stitch stripes
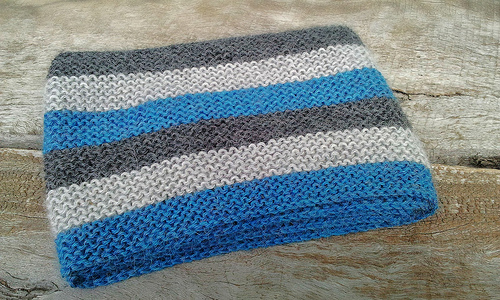
This may be the easiest form of stripe, especially for beginning knitters. You alternate two colors, each color working two rows (back and forth). This creates one stripe per garter stitch ridge. It's a great effect, and you can make a really spiffy scarf or shawl this way.
On the down side, the color-changing edge can get a little bit messy. But hey, it's garter stitch, it's kind of hard to notice.

Image courtesy Flickr/Bonito Club
Short stripes (in the round)
If you are knitting a hat, say, or a pair of socks, and the stripes are only a few rows high, then you can do pretty well by carrying the yarn up the back. Twist the old yarn with the new to trap it against the back of the project as you knit.
As long as the yarn isn't too heavy, this should be fairly unnoticeable. If you are working in a heavy yarn you may regret it. No one wants to wear a hat that has a rope pinned up against the inside back.
Vertical stripes
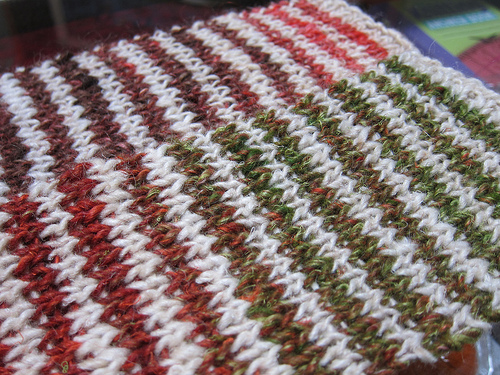
If you want vertical stripes in your stockinette you have two options: either strand the colors across (Fair Isle style) or use slipped stitches. It's hard to say which is easier or produces the better fabric. It depends on the project you are knitting.
I can say that knitting narrow stranded stripes soon becomes very soothing if you are knitting it in the round. It's even relatively easy to do it back and forth, unlike your usual stranded knitting project.

Image courtesy Flickr/looseends
Fat stripes (back-and-forth)
If you want fat stripes on a back-and-forth pattern, your only real option is to break the yarn at each color change.
You might want to investigate various forms of yarn splicing to deal with the ends. The last time I did a project like this, I experimented on a swatch, then gave up and just sucked it up and wove all the ends in. None of my splicing methods looked better than weaving in the ends, and a lot of them looked a great deal worse.
Fat stripes (in the round)
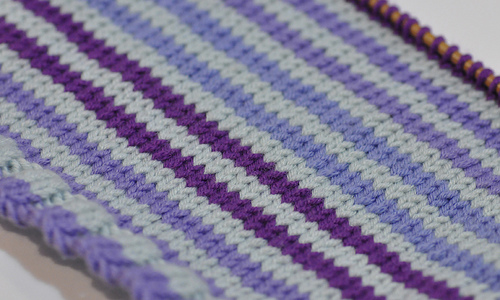
If you are working a narrow project in the round, like a simple tubular scarf, then you can carry the unused yarn up the inside. To a certain extent.
I did this with a really long project once, and I soon wished that I hadn't. I ended up carrying six strands of unused yarn up the inside, which was thick enough to form a visible vertical lump in the finished project. If I were to knit that item again, I would just break the yarns, knot them, and leave the tails hanging inside. It would save a lot of fiddling.

Image courtesy Flickr/hddod
De-jogging stripes, Method 1 (Meg Swansen)
When knitting in the round, you will encounter a little hitch or "jog" where the stripes change color. The topic of "jogless stripes" is a hot one in certain knitting circles. Meg Swansen's de-jog method is to knit the first color of the new round twice: First when you encounter it, and then on the second round by knitting into the stitch below.
De-jogging stripes, Method 2 (TechKnitter)
This method has you slip the first stitch of the second round of knitting. It sounds a little weird, but there is (as always with a TechKnitter article) a fabulous illustration of the process that should make it a bit more clear. I have used this method before many times in the past with great success.
De-jogging stripes, Method 3 (Traveling)
If you shift the color change over one stitch to the left every time, it all works out nicely. This works better on some projects than on others. That color change point can shift pretty far, which may not be practical for your work. It is a nice, low-effort, low-skill way to de-jog your stripes, though.
De-jogging stripes, Method 4 (Stop caring)
In the end, this is the method that I have used most frequently. Non-knitters never notice or care about the stripe jogs, so why should I? I consider the jogs to be just another design element, like a seam, or a line of increase stitches. (I'm terrible, I know.)
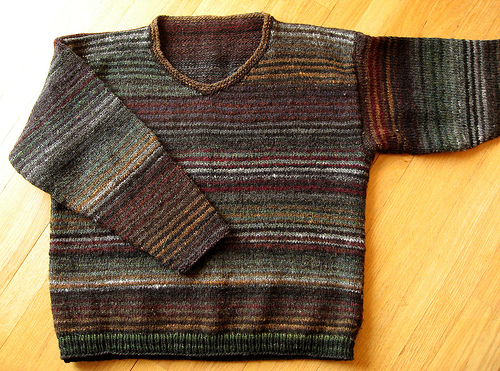
Main image courtesy Flickr/Califoto

0 comments