Knitters who start out knitting cables usually start off with a cable needle. Not least because that is what knitting patterns tell you to do: slip a certain number of stitches to the cable needle, hold them in front or in back, knit a while, then put those stitches back.
A cable needle is a special curved knitting needle which is usually thin and made of metal. Resourceful knitters frequently use a DPN of the appropriate size as a cable needle, too. It works fine.
But there is a better way!
Once you have wrapped your head around how cables work, it is quite simple to learn how to cable without a cable needle. This is one of those techniques where you just have to walk through it step by step a few times until you get the hang of it. It won't seem to make sense if you just look at tutorial pictures, and if you skip a step the results can be disastrous.
Tutorials:
This technique basically walks you through switching the stitches on the needles, then knitting straight across them. There is only one point where the stitches are loose (not on a needle) and you will want to pinch them to make sure they don't drop. But even though it seems like this would be risky, I have yet to have problems with stitches getting dropped during this step. (It helps that most cabled patterns are not knit in a slippery fiber.)
Cabling without a cable needle will take a little bit of time to learn, but once you do, it's a lot faster than working cables the traditional way. It also frees you up to ditch an entire item of knitting equipment, which can really help lighten the load. It's also something of a knitting party trick, if you will - impress your friends!
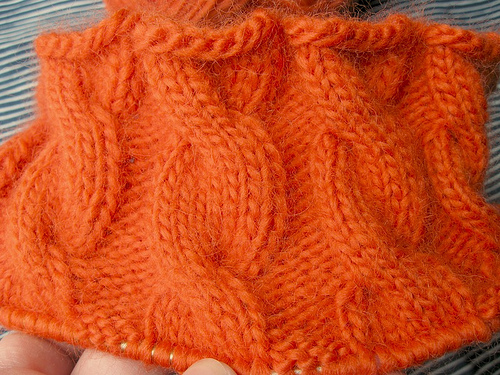
Image courtesy Flickr/meaganmakes

0 comments