Plying with a drop spindle
Once you have spun up your lovely fiber, you may be tempted to start knitting with it right away. And you certainly can - there are plenty of examples of singles yarn on the market, including Malabrigo and Brown Sheep Lamb's Pride. But there are also some very good reasons why you should ply your yarn first.
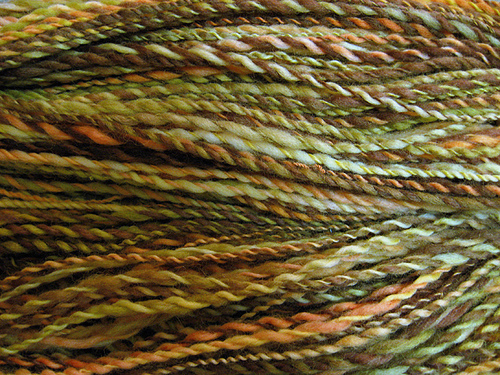
A plied yarn happens when two spun singles are themselves twisted together. This creates a more balanced yarn that behaves better, and is stronger than each individual ply alone.
Not to mention, the better you get at spinning, the thinner the yarn you will create. And unless you want to start knitting cobweb lace, you will want to ply those thin singles together to create a thicker yarn that you can use in a wider variety of projects.
The simplest form of plying is easy, and it goes a lot faster than the original spinning. The key to plying is to do it in the opposite direction than the singles were spun in. If you spun your fiber clockwise, you will want to reverse that and ply the singles by spinning them counter-clockwise.
The biggest challenge in plying is to keep the singles (whether they are in balls or on bobbins) from leaping all over the place:
- Wind an "Andean Bracelet" around your wrist, which lets you ply from the inside and outside of the skein, and maximizes the amount of yarn you can create from one run of singles. (Note: I personally found this method to be very tangly and frustrating.)
- The traditional Peruvian method is to wind your singles together in a ball. If you want to create a two-ply yarn, then hold two singles together and wrap them up in a ball, then ply directly from that ball.
- Put the balls or bobbins inside a shoebox and feed them out through a hole in the lid.
- Put each ball under a glazed flower pot, and feed the singles out through the hole in the bottom.
- I have even seen one clever person wind her singles around a plastic soda bottle!
Image courtesy of Flickr/jodigreen

0 comments