Getting started with origami
Learning origami is an excellent way to keep your hands busy, decorate your desk, sharpen your fine motor skills and improve your cognitive skills. And it's entertaining, too!
I first learned origami over a summer spent babysitting when I was 14. I had to spend the entire day at a stranger's house, television was not allowed during the day (not that there was anything to watch), and this was long before the Internet. I checked out a few books from the library, and spent the entire summer learning the basics. Once you decipher the language of the lines on the charts, it's just a matter of following the instructions. By the end of the summer I was folding intricate figures that took an entire day to create.

1. Start with a square
You don't even need to buy the fancy origami paper to start with. Although traditional origami paper is useful because it is thin (therefore easy to make a crisp fold) and colored on one side (making it easier to follow the diagrams).
You can make a square out of a sheet of copy paper by folding it on the diagonal, then cutting off the rectangle on the end. Or fold it along that side, then carefully tear off the rectangle by hand.

2. Find a basic tutorial
Now that the Internet is a thing, you don't even have to schlep books from the library like my 13-year-old-self on that long-ago summer. Beginning origami tutorials are everywhere! (Most of them are aimed at children. Don't take it personally.)
Here are a few videos to get you started:

3. Decipher the charts
Once you have had a bit of practice following along with a video or graphic tutorial, it's time to move up to the "real kind" of instructions. These diagrams are what you will find in most books and traditional media. Here is a beginner's guide to creating an origami jumping frog which is a great way to start.
All origami comes down to two folds: Mountain Fold and Valley Fold. Mountain Fold is usually indicated by a broken line of dashes and dots (-*-*-*-*) and Valley Fold by a line of dashes (- - - - -).
Take a sheet of paper. Pick up the right side and fold it over the left, toward you. That's a valley fold - the resulting fold is indented, like a valley.
Now take that sheet of paper and reverse the fold. Fold the right side away from you and back. This is the Mountain Fold - it creates a peak in the paper, like a mountain.

4. Have patience!
Start slowly. This takes time to learn. It takes a while just to figure out what the diagrams are "saying." But just as with any skill, practice makes perfect. Soon it will make perfect sense, and you will find yourself looking for more and more complex shapes to create.
Don't be afraid to toss away your crumpled sheet of paper and start with a fresh one. Once you have backed up and re-folded it a certain number of times, your sheet will start looking ragged and be harder to fold. It's just a piece of paper… there's plenty more where that came from!

5. Moving forward
Getting bored? Try something new!
- Memorize a shape, so that you can make it without looking at the instructions.
- Make the smallest origami figure you can. Some people use tweezers to fold micro-origami.
- Make the largest origami figure you can. I had a friend who folded an origami pterodactyl from an enormous sheet of butcher paper. She stiffened it with balsa wood strips, and hung it from her ceiling. IT WAS AWESOME.
- Make a string of origami cranes. If you make a thousand, you get a wish!
- Start "harvesting" paper from your surroundings. You can make origami out of interesting flyers, hand-outs, advertising circulars, paper bags, the phone bill…
- Decorate your origami. I once made a bouquet of tiger lilies by folding them out of watercolor paper, then painting the colors on the finished figures.
- Make jewelry by lacquering the figures, then attaching them to earring fixtures.
- Make Christmas tree ornaments by attaching them to ornament hangers.
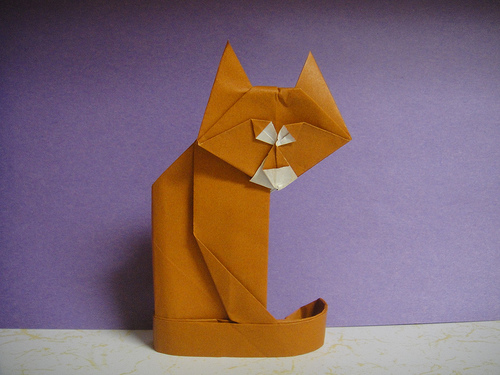
Main image courtesy Flickr/Origamiancy

2 comments